
While I have been a card maker almost as long as I have been a scrapbooker, when I am making a large number of cards (particularly at Christmas time when charities + personal cards = lots and lots of cards to make) I try to find ways to simplify the process. Part of that process is finding ways to make cards that are relatively easy and quick to put together. Toward that end, one of the ways I simplify card making is to use Holiday die cut packs to whip together as many cards as I can with the die cuts I have.
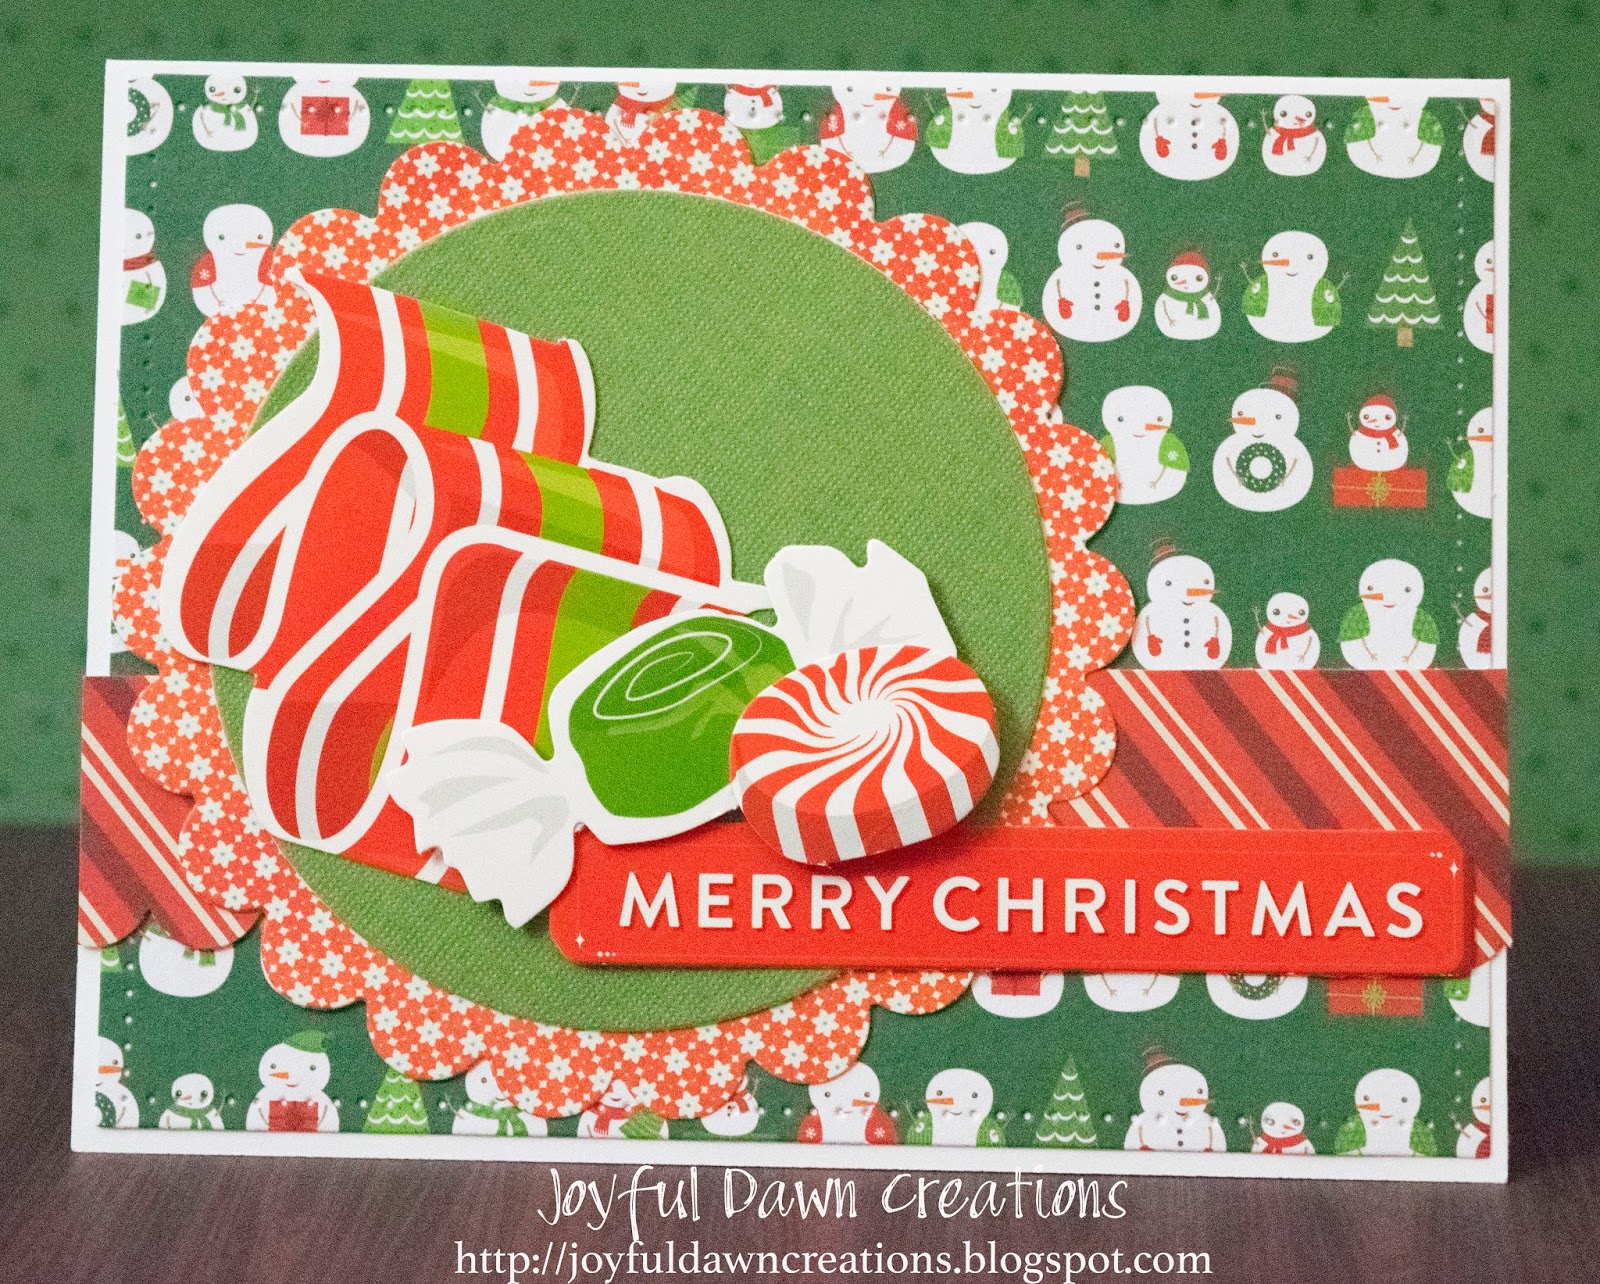
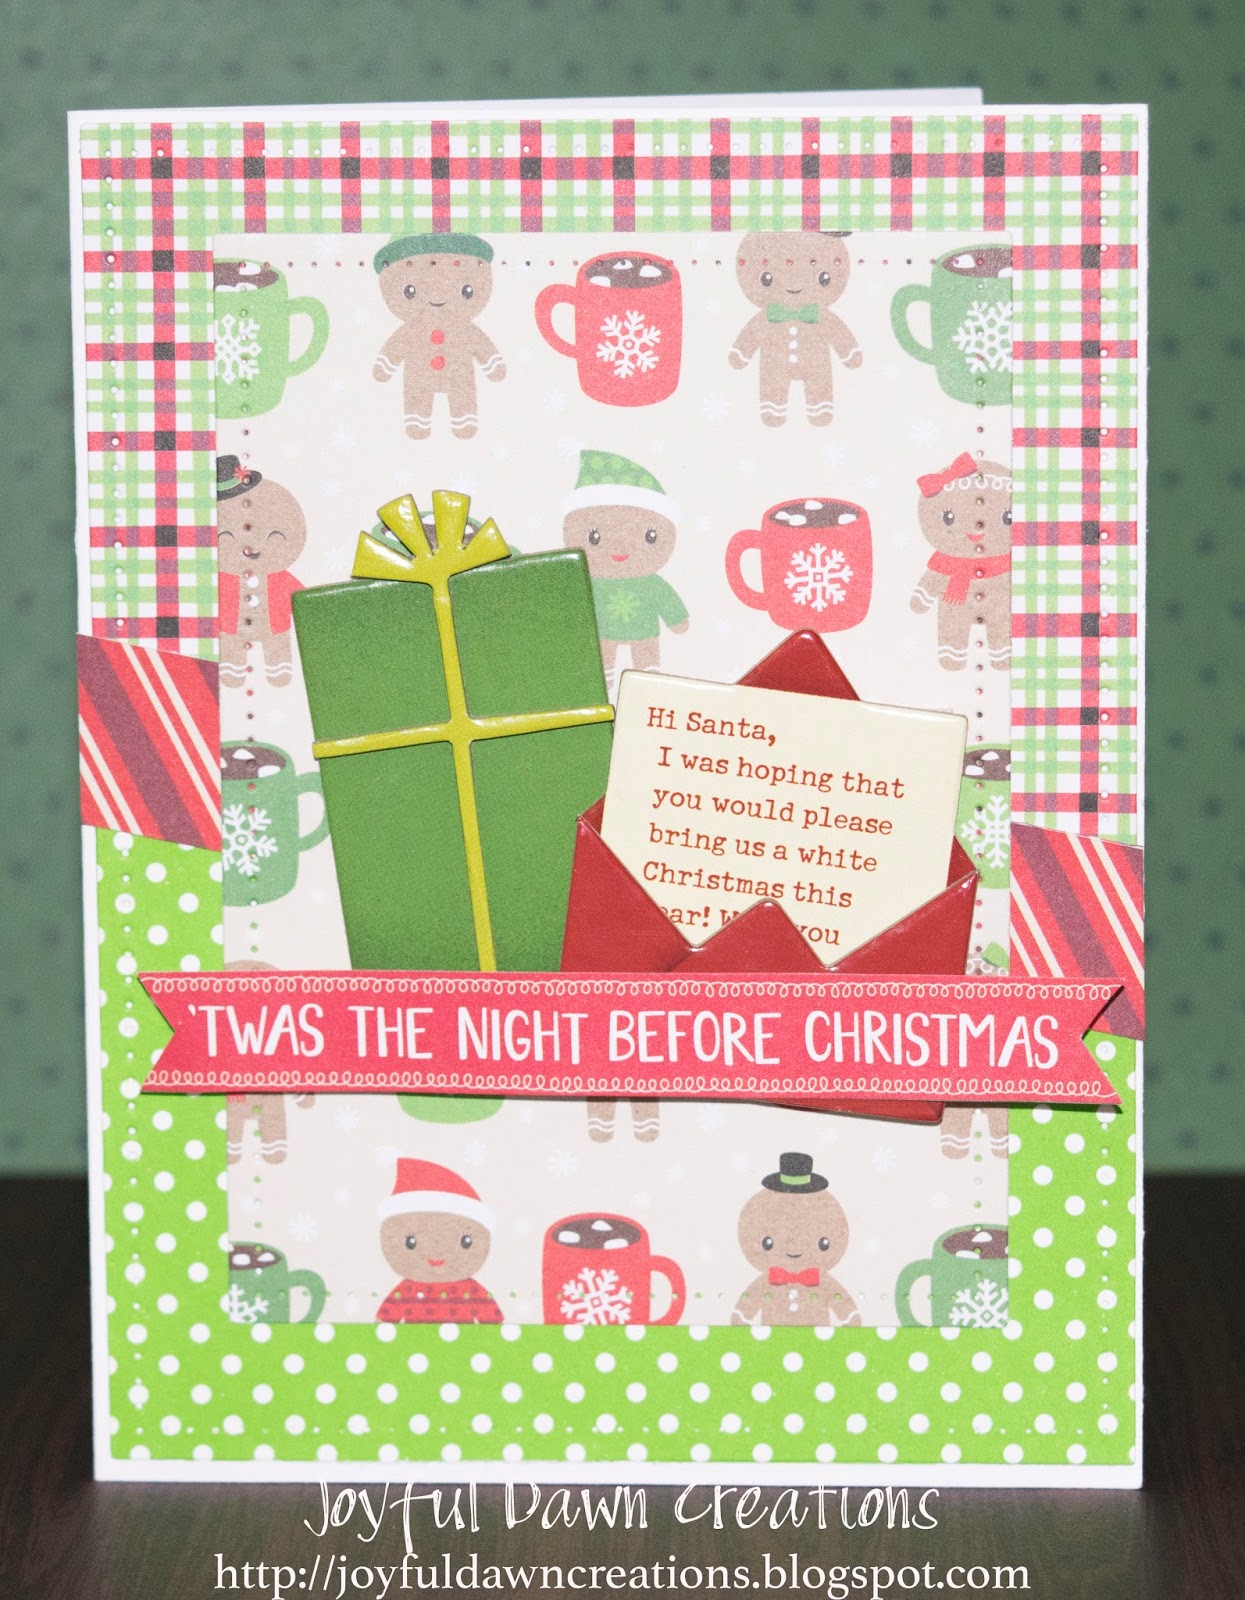
The cards below were made with one die cut pack from American Crafts, one dimensional chipboard sticker pack from Shimelle's Christmas line, one 6x6 paper pad from American Crafts, and a few scraps that I had in my scrap basket. I always make sure to look through my scraps when I'm about to start making Christmas cards to see which scraps I can make work so I don't waste any paper. Once I've picked out the scraps I will be using, I simply store them with the rest of my Christmas supplies (I limit myself to one 12x12 Iris container so I can't buy new stuff until there is room in the box).
Even the sentiments were either cut from the paper pad or from the die cut pack. I also cut all of the papers down at the same time so all I had to do was to put the patterned paper together with the die cuts, and layered the die cuts with some dimensional foam tape for some interest.

Tips and Tricks:
One of the easiest ways to make card making easier is to use sentiments that have already been created in a paper pad or to use Christmas-related die cut packs for images and sentiments for your cards.
Another easy way to make card making easier, especially when making a lot of cards is to do them in an assembly line style. Cut all of the papers down at the same time so all you have to do is to put the patterned paper together with the die cuts. For added interest and texture, you can easily layer the die cuts with some dimensional foam tape.
I did cut some round and scalloped shapes with one border punch and a couple of dies, but you could easily put these cards together with just using a paper trimmer to cut different sizes of squares and rectangles (or really any angular shapes). Before I had dies, I also would sometimes get a glass from the kitchen trace a circle on the patterned paper and then carefully cut it out. It does take a little longer but if you want some variety to your cards without having to shell out the money on new dies, the cup/cut method definitely works. :)
Once I had cut down all of the papers I wanted to use, these cards took less than 5 minutes a piece to put together and they are so easy that (if you spend a few minutes cutting down your papers and card bases beforehand) you can easily knock out ten or fifteen while watching 1 one-hour show! And the best part about it is that you don't have to worry about having inks or Christmas stamps which can cost a bit of money to invest in. Plus, if you have trouble being super creative with card layouts because they can seem so different to scrapbook layouts or not great at stamping clear images and then coloring them in, this takes all of the stress out of card making! The images have already been created and colored for you!
No comments:
Post a Comment